Dafen oil painting Village
The Ultimate Guide to Cleaning and Restoring Oil Paintings: Preserve Your Masterpieces

Oil paintings are timeless treasures that add elegance and depth to any space. However, over time, these artworks can accumulate dust, dirt, and develop a yellowish tint due to the oxidation of the varnish layer. To maintain their beauty and longevity, proper cleaning and restoration are essential. Here’s a comprehensive guide to help you care for your oil paintings like a pro.
Why Clean Oil Paintings?
There are two primary reasons to clean oil paintings:
- Dust and Dirt Accumulation: Over time, dust and grime can settle on the surface, dulling the colors and details.
- Varnish Oxidation: The protective varnish layer can yellow or darken, significantly altering the painting’s original appearance.
Regular cleaning not only preserves the artwork’s visual appeal but also protects it from long-term damage.
Step-by-Step Cleaning Process
- Initial Dusting:
Use a soft-bristle brush or a feather duster to gently remove surface dust. This step prevents scratching the painting during the wet cleaning process. - Gentle Wiping:
Dampen a clean cotton cloth or sponge with water and carefully wipe the surface. For stubborn dirt, add a drop of mild dish soap to the water. Always ensure the cloth is well-wrung to avoid excess moisture, which can damage cracked or fragile areas. - Advanced Cleaning with Solvents:
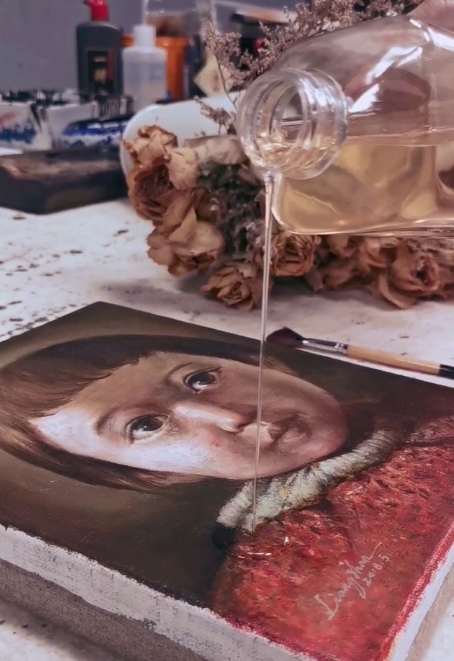
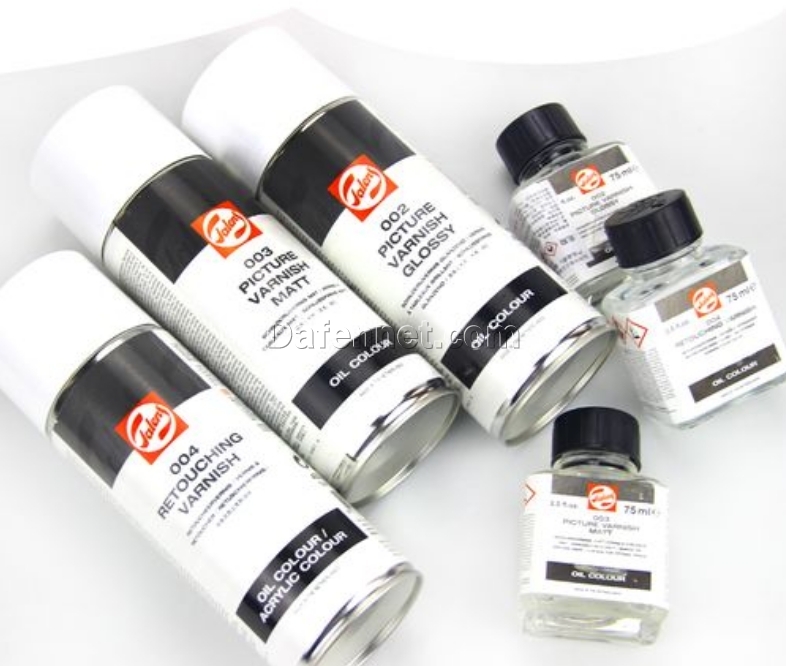
For older paintings with yellowed varnish, non-aqueous solvents like turpentine are often used. Turpentine effectively dissolves resin-based varnishes without harming the underlying paint layers. After cleaning, reapply a fresh layer of varnish to restore the painting’s protective coating.
Common Cleaning Solvents
- Turpentine: Ideal for newer paintings, especially when warmed. It’s gentle on fresh paint layers but effective against resin varnishes.
- Refined Gasoline and Benzene (Toluene, Xylene): These solvents are stronger than turpentine and work well on stubborn resin layers.
- Ethanol (Absolute Alcohol) and Methanol (Wood Alcohol): Powerful solvents for resin removal, but use with caution to avoid damaging the paint.
- Acetone and Chloroform: These are highly effective for dissolving both resin and oil layers but should only be used by professionals, especially for antique paintings.
Cleaning Techniques
- Circular Motion: Use a white cotton ball (available at pharmacies) dipped in your chosen solvent. Gently clean the painting in small circular motions, focusing on one section at a time.
- Replace Cotton Balls Frequently: As the cotton absorbs the yellowed varnish, replace it with a fresh ball to avoid redistributing dirt.
- Stubborn Areas: For tough spots, apply a stronger solvent or a mixture of solvents. Be cautious not to over-clean, as this can damage the paint layers.
- Removing Stains: For stains caused by pressure or insect marks, carefully use a scalpel or fine blade under professional guidance.
Preventive Care Tips
- Avoid Direct Sunlight: Prolonged exposure to UV rays can accelerate varnish oxidation.
- Control Humidity: Keep paintings in a stable environment to prevent cracking or mold growth.
- Regular Dusting: Gently dust your paintings every few months to prevent buildup.
When to Seek Professional Help
While DIY cleaning can work for minor maintenance, antique or heavily damaged paintings require professional restoration. Experts have the tools and knowledge to safely clean and repair valuable artworks without risking further damage.

